User Interface Overview
This page walks you through the Aiviro Editor workspace.
Main window
The window is split into three tabbed areas: the scenario on the upper left, data panels on the lower left, and the working area on the right.
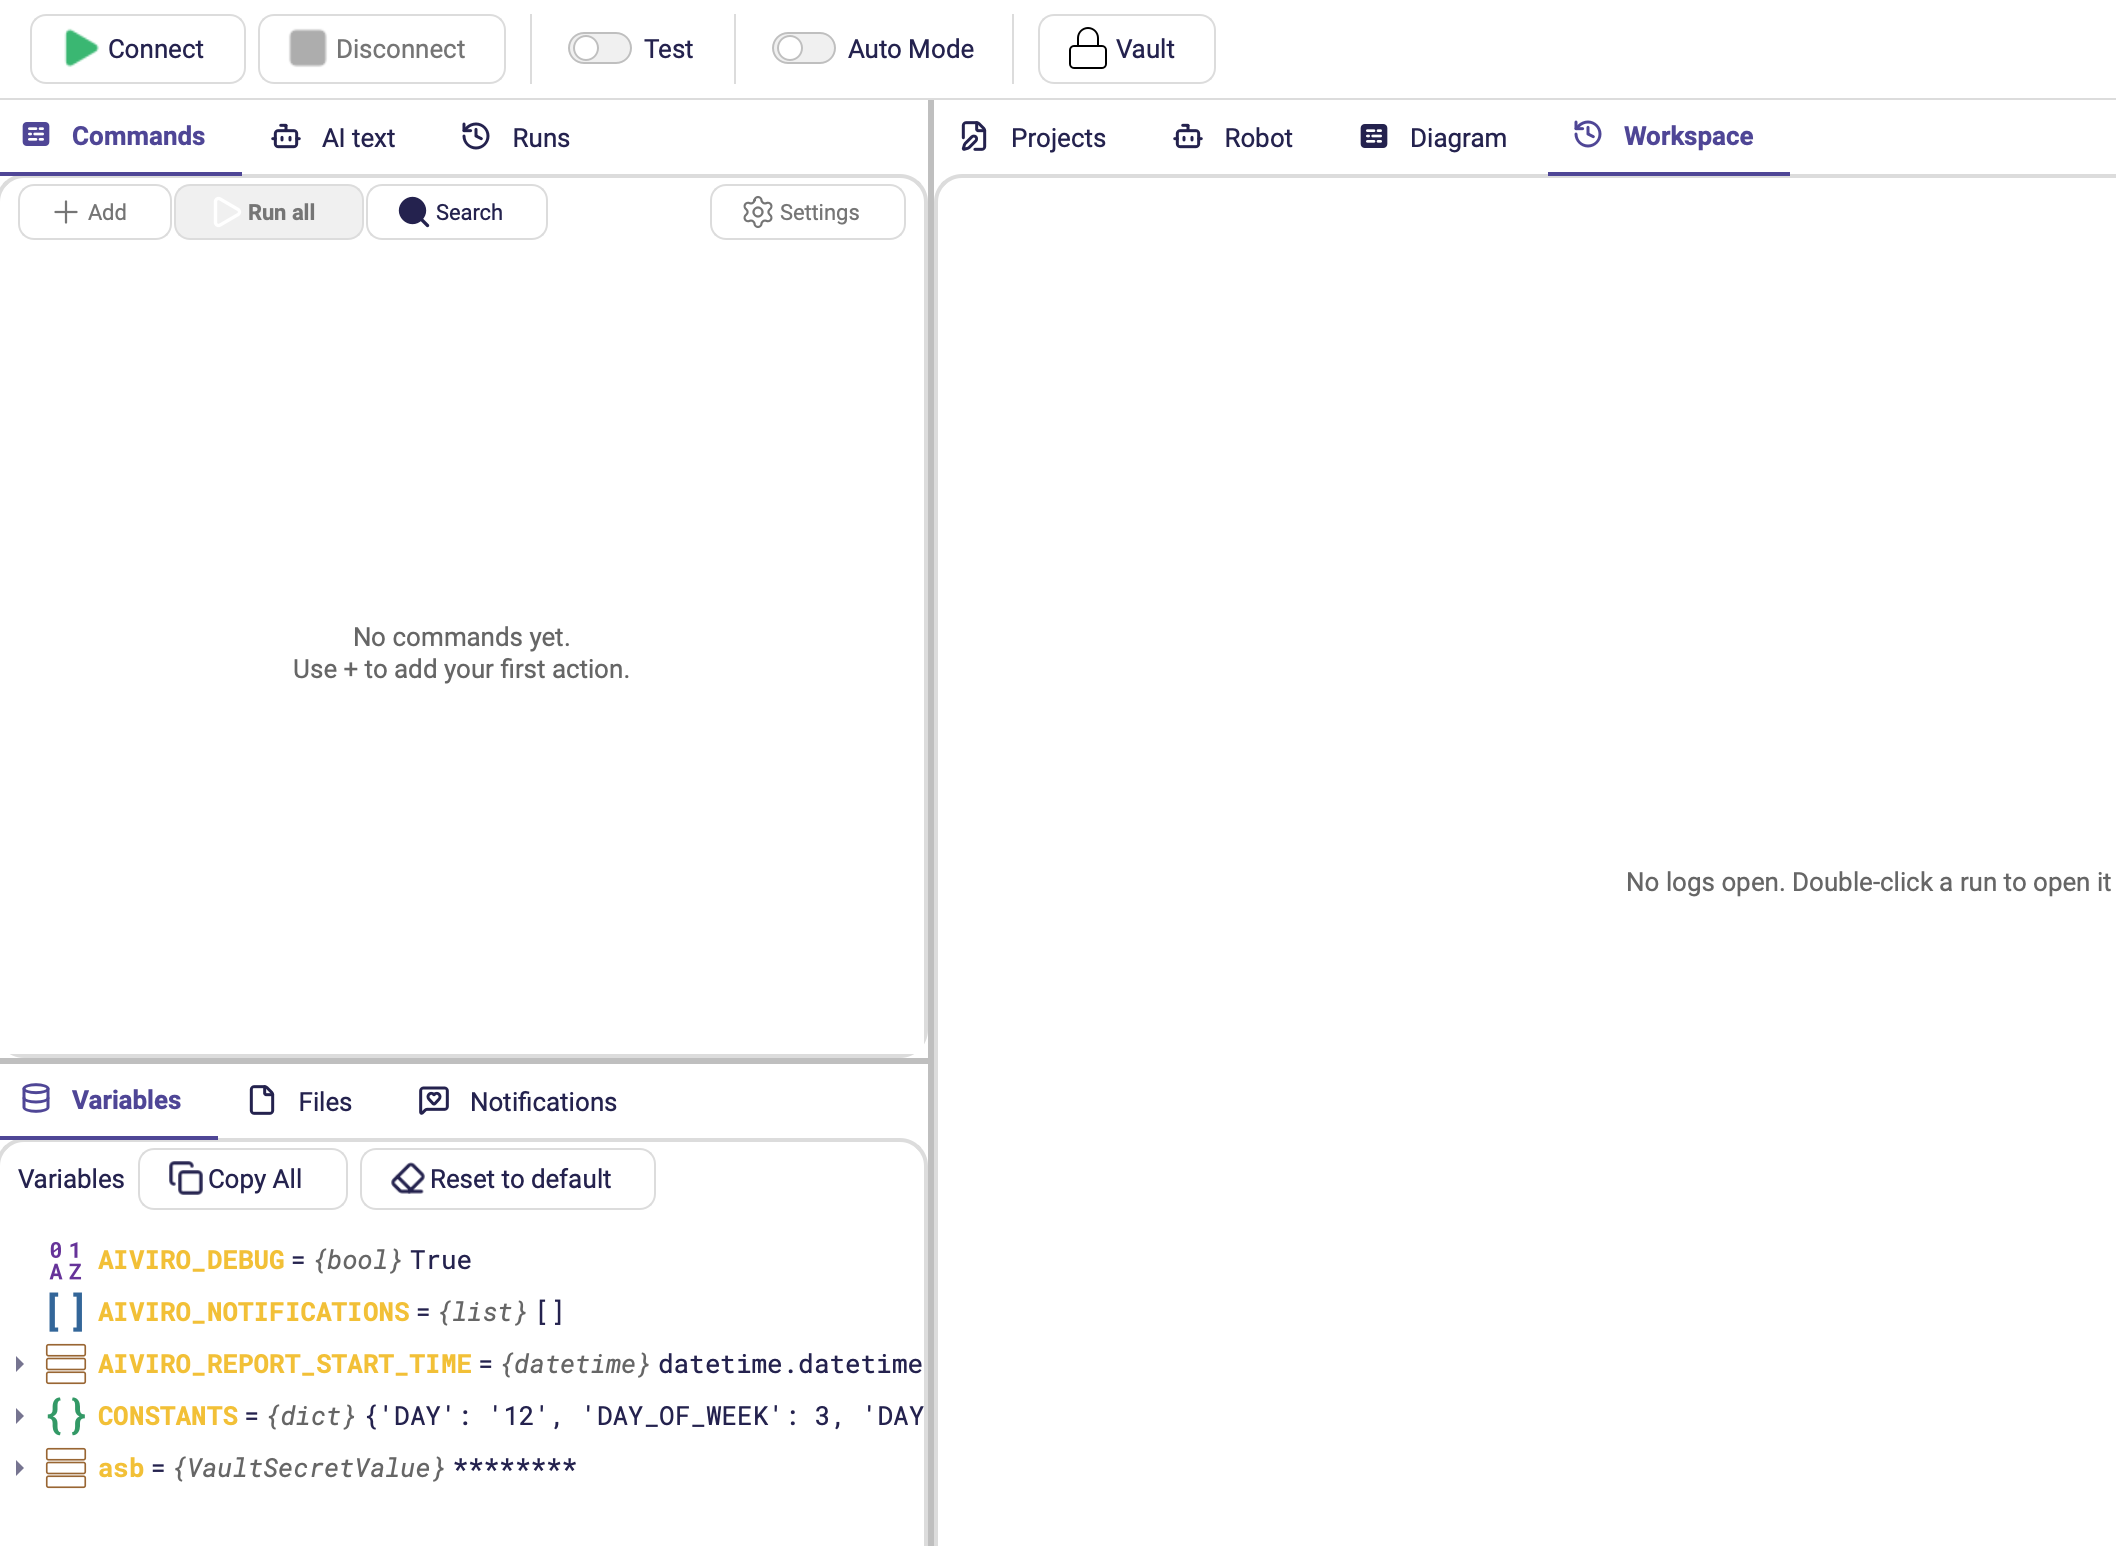
Main toolbar
| Control | Purpose |
|---|---|
| Connect | Opens the Open Environment dialog and connects to a robot profile. Shortcut Shift+R. |
| Disconnect | Closes the current robot session. |
| Test | Switches the scenario between the Test and Production environment. Actions set to Enabled (Test) or Enabled (Prod) follow this switch — see Run Action. |
| Auto Mode | Global switch that lets the Orchestrator run active scenarios on schedule. Must be On for unattended execution. |
| Vault | Opens the Secure Vault where passwords, tokens and e-mail accounts are stored. See Secure Vault. |
Upper-left tabs
| Tab | What it holds |
|---|---|
| Commands | The scenario itself — the tree of actions, with its own header: Add, Run all, Search and Settings. |
| AI text | Describe in plain language what the scenario should do and let the AI draft it. Related to the Prompt Actions action — see AI actions. |
| Runs | History of completed runs — see Runs panel. |
Commands header
| Control | Purpose |
|---|---|
| Add | Opens the actions menu to insert a new command into the scenario tree. |
| Run all | Executes the whole scenario. If commands are selected, only the selection runs. |
| Search | Toggles the Search commands… box, which filters the scenario tree. |
| Settings | Opens the Scenario Settings dialog (scheduling, timeouts, robot profile, localization). |
While a scenario is running, Stop (graceful stop after the current action) and Force Stop (immediate abort) appear here in place of Run all.
An empty scenario shows No commands yet. Use + to add your first action.
Lower-left tabs
| Tab | What it holds |
|---|---|
| Variables | Default and user-defined variables with their live values, plus Copy All and Reset to default. |
| Files | Shared folder (RDP) and Temp (this session). |
| Notifications | Messages collected by Add Message during the run. |
See Panels for what each one is for.
Right-hand tabs
| Tab | What it holds |
|---|---|
| Projects | Recently opened projects — see Projects tab. |
| Robot | The controlled machine's screen, with its own toolbar — see Robot tab. |
| Diagram | The scenario rendered as a flow diagram. |
| Workspace | Opened run logs. Empty it reads No logs open. Double-click a run to open it. |
Secrets from the Vault show up in Variables as {VaultSecretValue} ******** — the
name is visible so you can confirm the scenario picked the right key, but the value never
is.
Projects tab
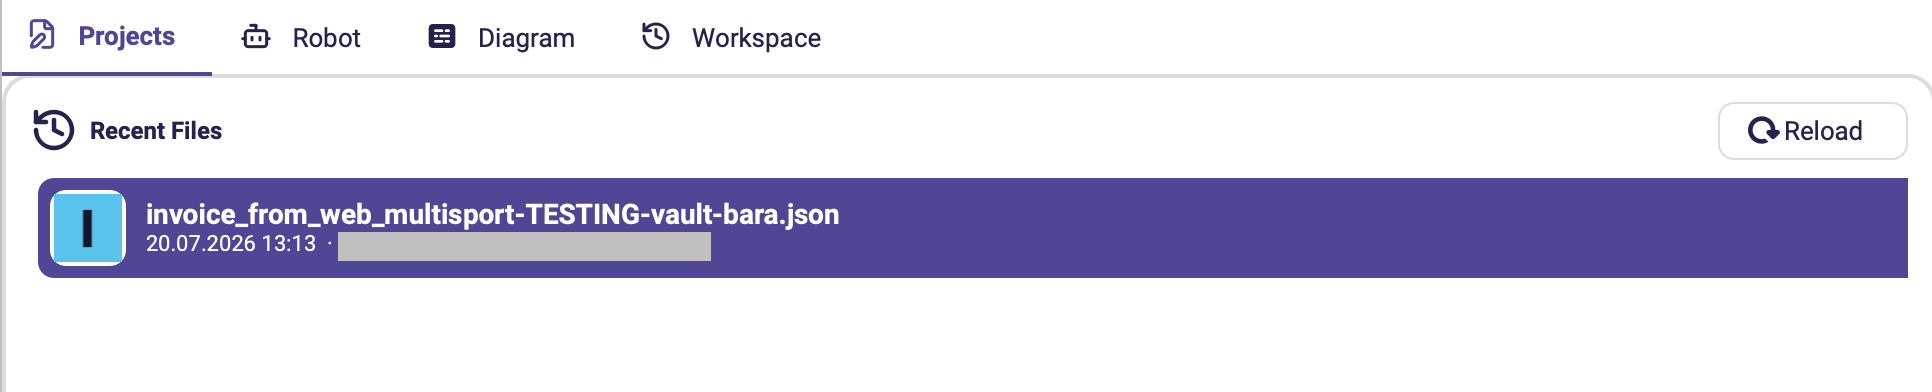
When no project is open, the Projects tab lists your Recent Files so you can jump straight back into one. Reload refreshes the list.
Menu bar
| Menu | Contents |
|---|---|
| File | New Project (Ctrl+N), Open Project (Ctrl+O), Save Project (Ctrl+S), Save Project As (Ctrl+Shift+S), Export as Python → To File / To Clipboard, Open external log → .zip log (editor) / log directory (core). |
| Edit | Undo (Ctrl+Z), Redo (Ctrl+Shift+Z). |
| Environment | Connect, Disconnect. |
| Teach | Teach robot (Shift+E), Clear (Ctrl+X). |
| Settings | Edit Configuration, Theme → System / Light / Dark, Open config folder, plus the Debug Value and Save Variables developer helpers. |
| Help | Manual, About. |
Everything you build visually maps 1:1 to Aiviro Python SDK calls. File → Export as Python writes the whole scenario as a runnable script — useful for code review, for version control diffs, or as a starting point for a headless robot.
Robot tab
The Robot tab shows the controlled machine's screen and has its own toolbar.

| Tool | Description |
|---|---|
| Teach robot | Pauses the live view and marks every UI element the detection model recognizes. Shortcut Shift+E. |
| Zoom In / Zoom Out | Magnifies or shrinks the view. |
| Fit to View | Resets the zoom so the whole screenshot fits the pane. |
| Add New Box | Draws a new Area box for masking, cropping or defining a working area. |
| Show hidden boxes | Reveals element outlines that were previously hidden. |
Two more controls appear when they apply:
| Tool | Appears when |
|---|---|
| Clear Elements | Elements are currently highlighted. Removes the highlights and resumes the live stream. Shortcut Ctrl+X. |
| Live control | A robot that supports it is connected. When On, your mouse and keyboard input inside the view is forwarded to the controlled machine for manual interaction. |
Panels
| Panel | What it shows | Typical use |
|---|---|---|
| Commands | Tree of actions in the active scenario, with a search box and the Add / Run controls. | Build, reorder, disable or delete steps. |
| Variables | Default and user-defined variables with their live values, grouped in a tree. Copy All copies them out; Reset to default clears the run state. | Inspect data passed between actions while debugging. |
| Runs | Logs, screenshots and status of past full-scenario executions. | Verify unattended runs, debug failures — see Runs panel. |
| Workspace | Run logs you opened by double-clicking a run in Runs. | Compare two runs, or keep one log open while editing the scenario. |
| Files | Two folders: Shared folder (RDP) and Temp (this session). Right-click for Open, Copy path, Delete; the header offers Refresh, Open folder in file explorer and Clear folder. | Pick up files the robot produced, or drop files where the remote machine can read them. |
| Notifications | Messages collected by the Add Message action during the run, with their Type and Message. Clean notifications empties the list, and Preview Report renders it as the HTML e-mail report that Send As Email would deliver. | Build a human-readable run summary, and check how it will look before sending it. |
| Diagram | The scenario rendered as a flow diagram, with Zoom In/Out, Fit to View, 100% (reset zoom), Expand All, Collapse All and Export to PNG. | Review or document the overall flow; export the picture for a specification. |
| AI text | A plain-language description of what the scenario should do, which the AI turns into actions. | Draft a first version of a scenario section. |
The Diagram view
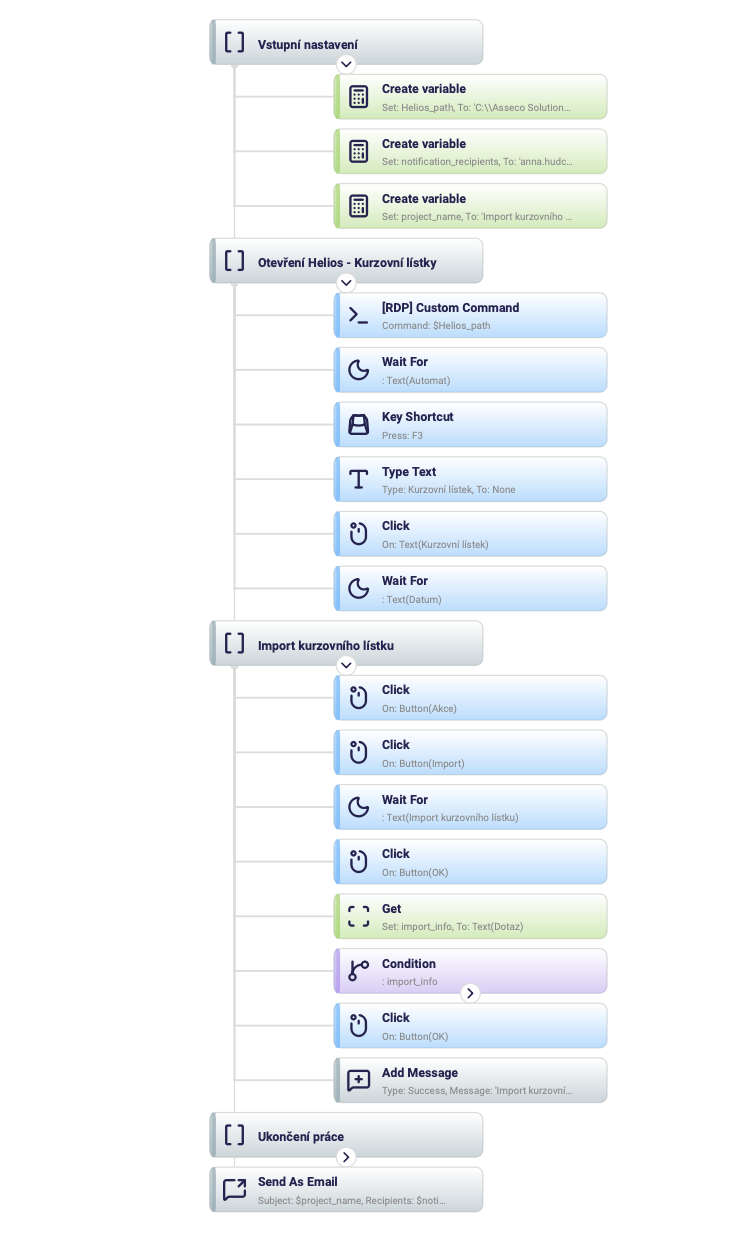
Each node shows the action's name and a one-line summary of what it does — On: Button(OK),
Press: F3, Set: import_info, To: Text(Dotaz) — so you can read the whole flow without
opening a single form. Nodes are tinted by group, and Section headers and Condition
branches collapse behind the chevron.
Note how variables are referenced: Command: $Helios_path, Subject: $project_name. A
$ in front of a name inserts that variable's value — see
Referencing variables.
/img/editor/ui/files-panel.pngCapture: the Files tab with both Shared folder (RDP) and Temp (this session) populated, and the right-click context menu open. Why it is new: the Files panel did not exist in 0.14.2.
Earlier versions had a Scheduled panel listing upcoming auto-runs, and it is still referenced from Orchestrator. It is not among the tabs in the screenshot above — check where it lives in 0.23.1 (its own tab, a dialog, or removed) and correct both pages.
Keyboard shortcuts
Application
| Shortcut | Action |
|---|---|
| Ctrl+N | New Project |
| Ctrl+O | Open Project |
| Ctrl+S | Save Project |
| Ctrl+Shift+S | Save Project As |
| Ctrl+Z / Ctrl+Shift+Z | Undo / Redo |
| Shift+R | Connect to a robot |
| Shift+E | Teach robot (detect elements) |
| Ctrl+X | Clear detected elements |
Insert an action
These shortcuts insert the most frequently used actions directly. The six marked (needs a target) first ask you to pick an element on screen.
| Shortcut | Action |
|---|---|
| Ctrl+Shift+X | Click (needs a target) |
| Ctrl+Shift+D | Double click (needs a target) |
| Ctrl+Shift+R | Right click (needs a target) |
| Ctrl+Shift+T | Type Text (needs a target) |
| Ctrl+Shift+G | Get (needs a target) |
| Ctrl+Shift+S | Scroll (needs a target) |
| Ctrl+Shift+K | Key Shortcut |
| Ctrl+Shift+V | Create variable |