Deployment
Aiviro can be run locally at your computer or it can be deployed to a server with its orchestration system.
Local deployment
For running it locally, just run your main python script of the scenario you want to start.
Server deployment
Note
Aiviro orchestration is deployed to a server with the help of docker & docker-compose. Therefore, you need to have docker & docker compose installed on your server.
Connect to your server via ssh.
Go to the directory where you want to deploy Aiviro. We recommend creating a new directory for it.
mkdir -p projects/aiviro  # create a new directory
cd projects/aiviro  # go to the directory
Create and activate a python virtual environment.
python3 -m venv venv  # create a virtual environment
source venv/bin/activate  # activate the virtual environment
Install Aiviro with Prefect extra dependencies.
pip install -i https://pypi.aiviro.com aiviro[prefect]
Custom Initialization Scripts
When deploying an agent, you can add custom initialization scripts that will run when the agent container starts. These scripts run before the main agent process starts, allowing you to perform custom setup or configuration.
To add custom initialization scripts:
Create a shell script with the
.shextensionMake the script executable (
chmod +x your-script.sh)Place the script in the
prefect-data/<agent-name>/init.d/directory
Note
Scripts are executed in alphabetical order
Scripts must have execute permissions
Scripts must use the
.shextensionThe script execution happens before the agent starts but after the container’s environment variables are set
Deploy Aiviro orchestration server. It contains server, database and web interface.
# deploying server with the default settings
aiviro-cli deploy server start --detach

# define ip address for GraphQL backend to which frontend will connect
aiviro-cli deploy server start --server-host <your-ip-address> --detach

# for additional information about deployment of the server, use --help option
aiviro-cli deploy server start --help
Deploy Aiviro agent.
# deploying agent with the default settings
aiviro-cli deploy agent start --agent-name <your-agent-name> --git-url <repo-url-with-access-token> --label rdp --max-flows 1 --detach

# deploying agent with custom prefect project name
aiviro-cli deploy agent start --project-name <prefect-project-name> ...

# deploying agent with multiple environments, use --label and --max-flows options multiple times
aiviro-cli deploy agent start --agent-name <your-agent-name> --git-url <repo-url-with-access-token> --label <env-1> --max-flows 1 --label <env-2> --max-flows 1 --detach

# for further information about custom deployment of the agent, use --help option
aiviro-cli deploy agent start --help
Add aiviro configuration file and set API credentials.
aiviro-cli config login --client-id <your-client-id> --api-key <your-api-key> --output prefect-data/<agent-name>/volume/
Open the web interface in your browser, default url is http://localhost:8080. Select the
Flowtab,Hello Worldflow and run it, in order to validate your installation.
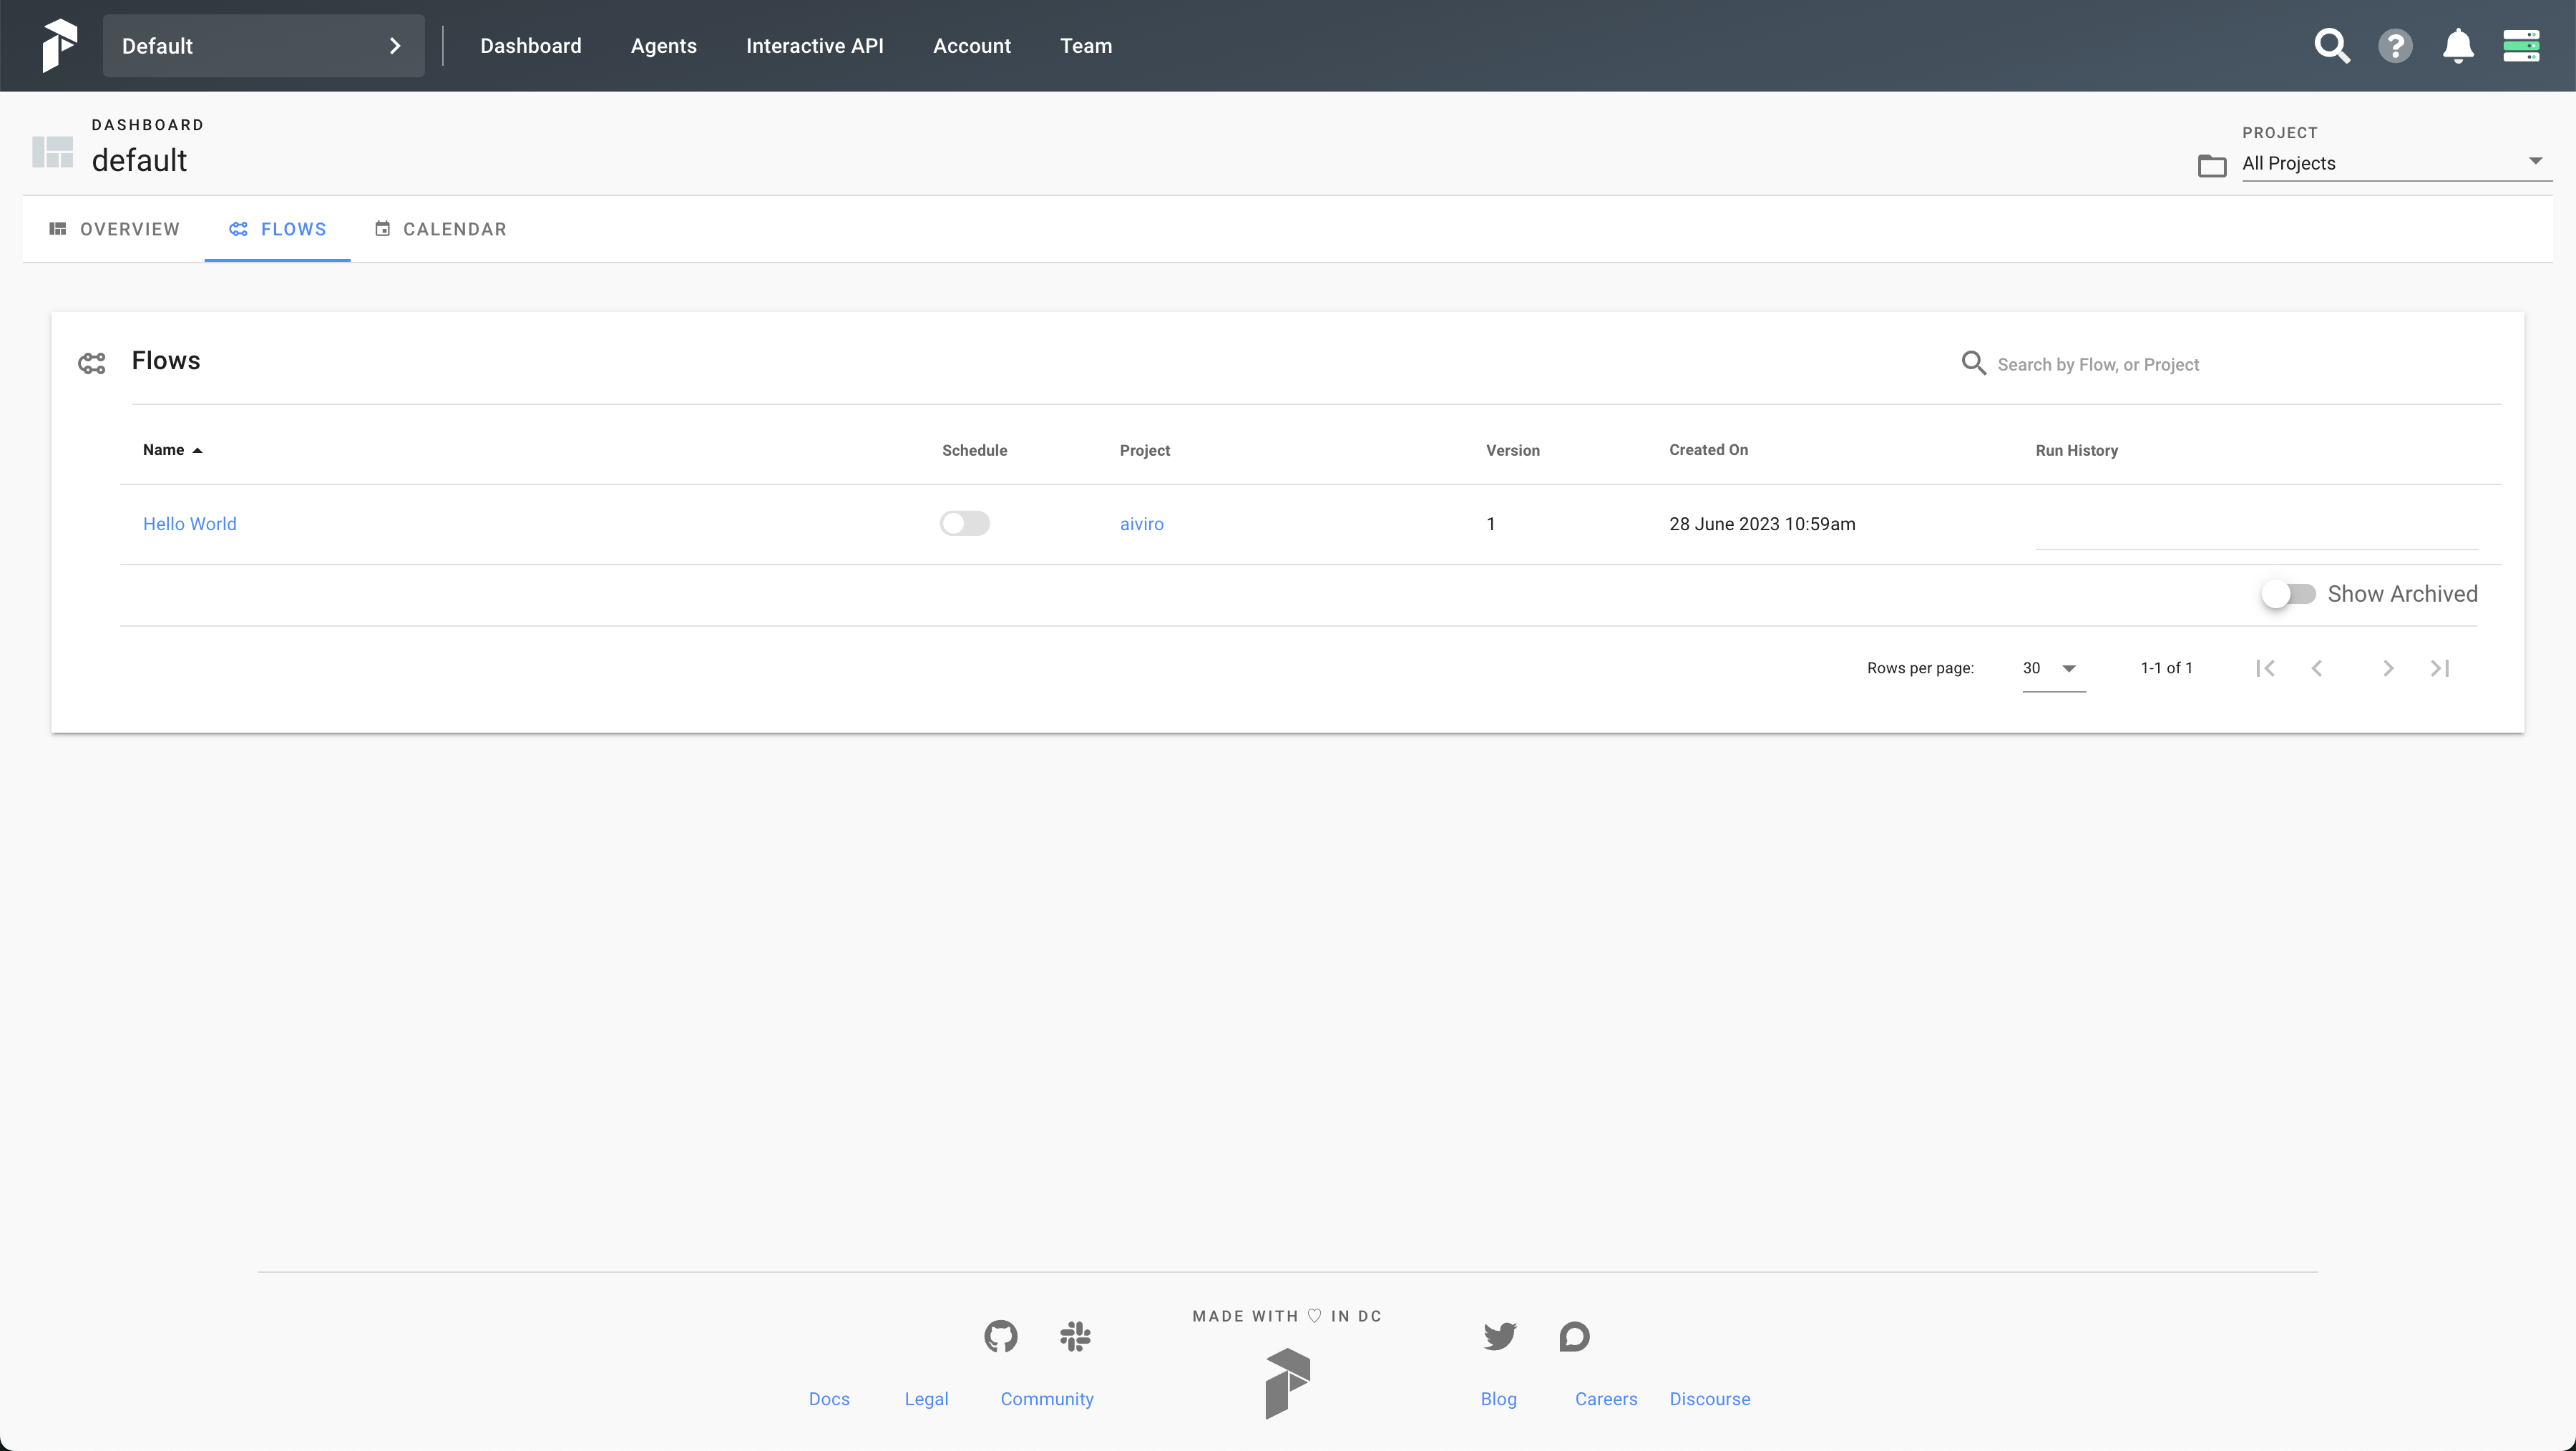
Web interface with selected Flow tab

Detailed view of the Hello World flow
To stop agent and server, use the following commands. You must be in the same directory where you deployed them.
# stop agent
aiviro-cli deploy agent stop --agent-name <your-agent-name>

# stop server
aiviro-cli deploy server stop
Successful deployment will look like this, you can check all running docker containers by running docker ps command.

Running docker containers
Register Flow
The deployed agent contains your git repository and therefore also your flows. However, you need to register them in the deployed environment, so that you can run them from the web interface. Follow these steps to register your flow:
# connect to the linux server
ssh <your-username>@<your-server-ip>
# enter the agent container
docker exec -it <agent-container-name> /bin/bash
# navigate to git repository directory
cd git-repo/
# register your flow
python flows/<your-flow-script>.py
Successful registration of the flow will look similar to this:

Successful flow registration
Update Agent
To update the agent, you have two options (soft and hard one). First step is always the same, you need to firstly stop the agent.
Warning
Keep in mind that by stopping or restarting any docker-container you’ll lose all temporary data stored in it. The initial state of the docker-container is defined by the image it was created from.
The soft way to update the agent is to start it using already existing .env file with the --update option:
aiviro-cli deploy agent start-env --agent-name <your-agent-name> --update
Logs Explorer
With server deployment, you can deploy additional service called Explorer, which is a web application for exploring logs and metadata. For more information, see Explorer section. It’s required to have the agent deployed and running in order to use the Explorer.
# deploying explorer with the default settings
aiviro-cli deploy explorer start --logs prefect-data/ --detach

# for information about custom deployment of the explorer, use --help option
aiviro-cli deploy explorer start --help