Installation Guide
Step 1: Download the installer
Go to the official Aiviro website and download the latest version of Aiviro Editor.
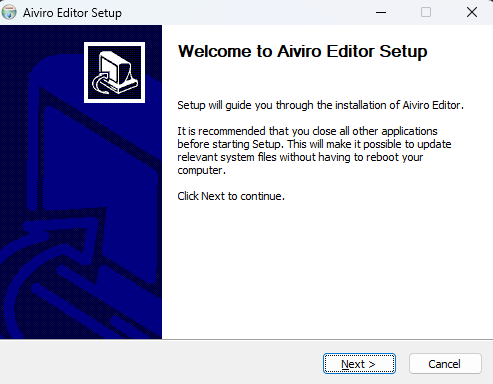
Step 2: Run the installer
Locate the downloaded file (e.g. AiviroEditorSetup.exe) and double-click it. The installation wizard will start. Click Next to continue.
Step 3: Accept the license agreement
Carefully review the EULA license agreement. Click I Agree to proceed.
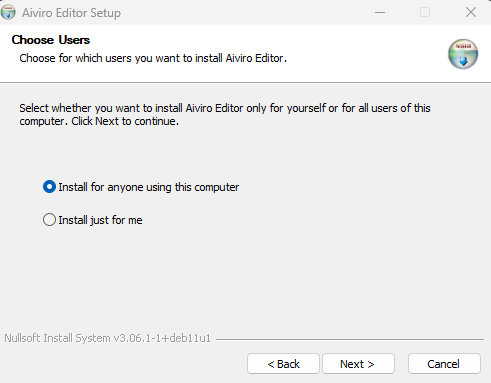
Step 4: Choose installation type
Select whether to install for all users (requires admin rights) or just for yourself. Click Next.
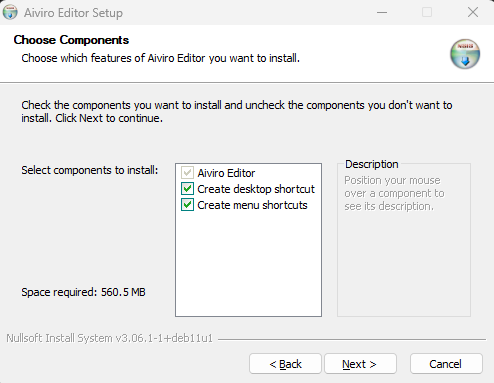
Step 5: Select components
| Component | Description | Default |
|---|---|---|
| Aiviro Editor | Main application (required) | ✓ |
| Create desktop shortcut | Adds an icon to your desktop (optional) | |
| Create Start menu entries | Adds links to the Start menu (optional) |
After selecting, click Next.
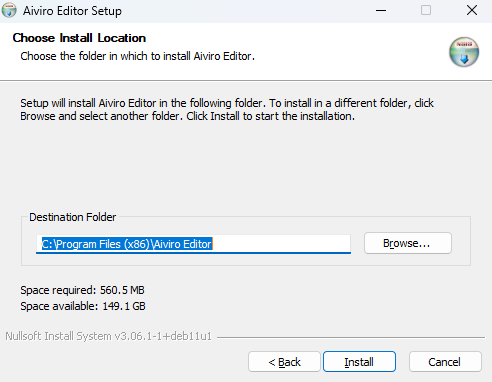
Step 6: Choose installation location
By default, the Editor installs to C:\Program Files (x86)\Aiviro Editor. If you need to change the location, click Browse…. Click Install to begin installation.
Step 7: Installation progress
The installer will now unpack and copy the necessary files. Once completed, a confirmation window appears. To launch the Editor immediately, check Run Aiviro Editor. Click Finish to close the installer.
Screenshots may vary slightly depending on installer version and your operating system.